Vert.x built with Gradle in Intellij IDEA
written on April 29, 2015If you use Vert.x for development, your preferred build tool is the Gradle and are also in love with excellent Intellij's IDEA, you would probably like to know how the best they could be wired up together, here you go:
Initiating Vert.x project
I prefer the official Vert.x Gradle template at the time being it is tuned for the latest version of Vert.x 2.x and is pretty much ready to go, except for some small changes you may need to do like removing some unnecessary dependencies in the main Gradle file or maybe disabling some plugins in the other one.
I strictly recommend not to manipulate anything Gradle related except the main Gradle file. Do it only if you know how to conquer the afterwards up coming troubles.
I normally just clone that repository, remove .git folder (as I don't want to have the humanity's history in my new project) and initialize a new git repository instead. Then I may change the dependencies, remove all the plugins except the ones needed, commit everything as an initial commit and I'm good to go.
Importing Vert.x project
There is an idea plugin in the Gradle configurations which can generate project structure for you but I would not recommend using that. We has some troubles using it and it caused us some time to fix them back. The easiest way is to let the IDEA find and extract the proper settings from Gradle files itself.
The process is pretty easy, as soon as you prepared your cloned repository follow these steps:
- fire up the IDEA and select
File > New > Project from existing sources... - select the root of repo which you just prepared and go to next dialog
- select
Import project from external modelthen selectGradleand step to next dialog - from there on, just finish the process
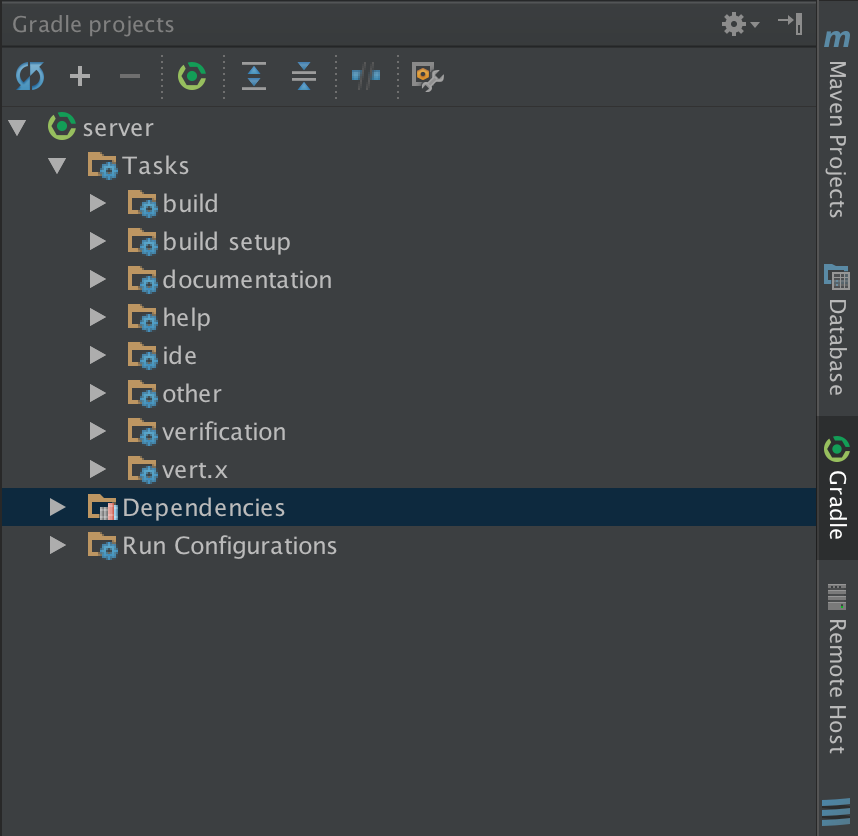
after you are finished, the IDEA has imported the project structure at the best it could do (and thats much better than any other ways, believe me!). There you will see all the detected Gradle setting on your side panel as seen bellow:

Whenever you change anything directly in Gradle files just press that refresh button on the top left of this panel and after some seconds if your change was not faulty, you will be presented with the updated settings.
Running directly out of IDEA
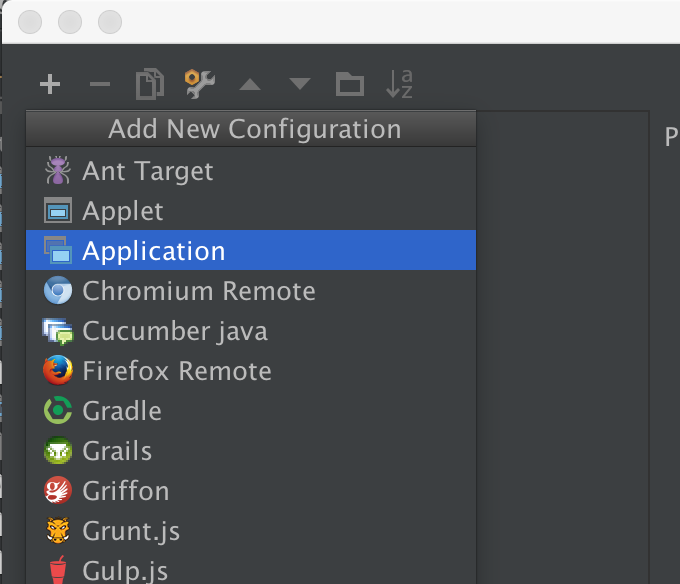
One thing that can be a pain is the compile, build and run cycles. There is an easy way (once figured out!) to fix that. Setup the run configurations by selecting Run > Edit configurations menu. Click add and select application from that menu:

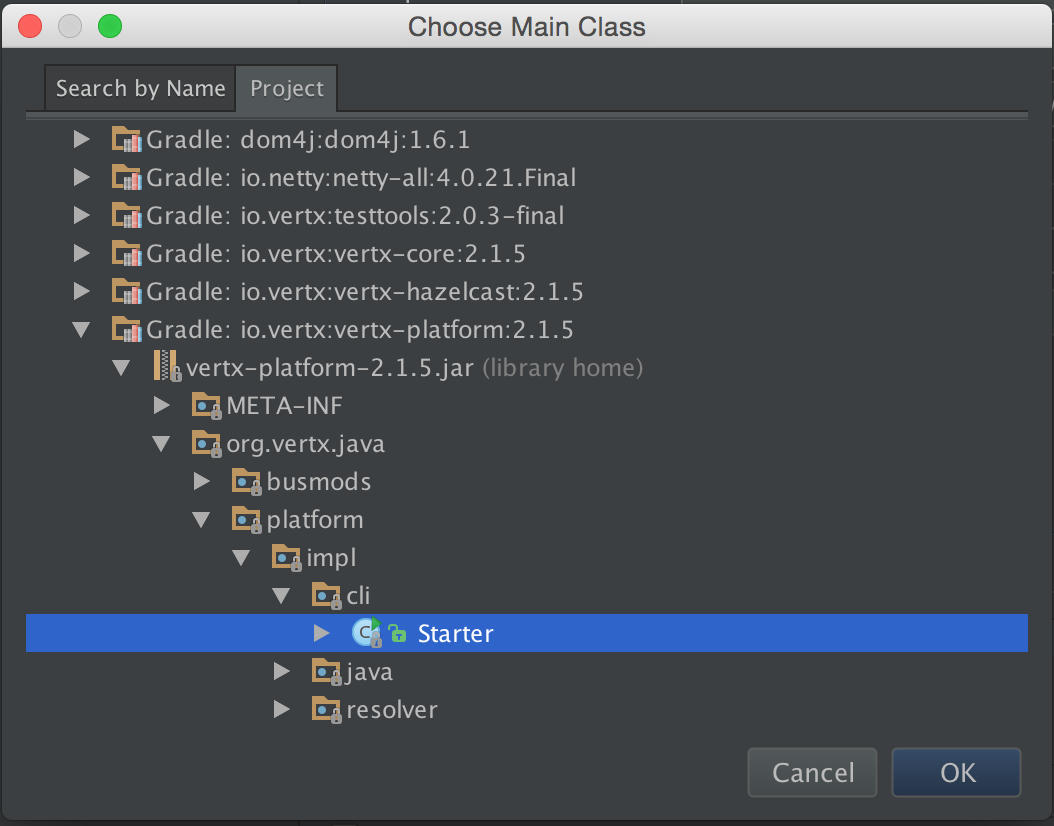
The tricky part is the selection of starter class from Vert.x's classes. To do so choose ... in front of the Main class: input field and you will be presented with a dialog. There we need to choose the Vert.x class from dependencies, so go to that tab and choose org.vertx.java.platform.impl.cli.Starter as shown bellow:

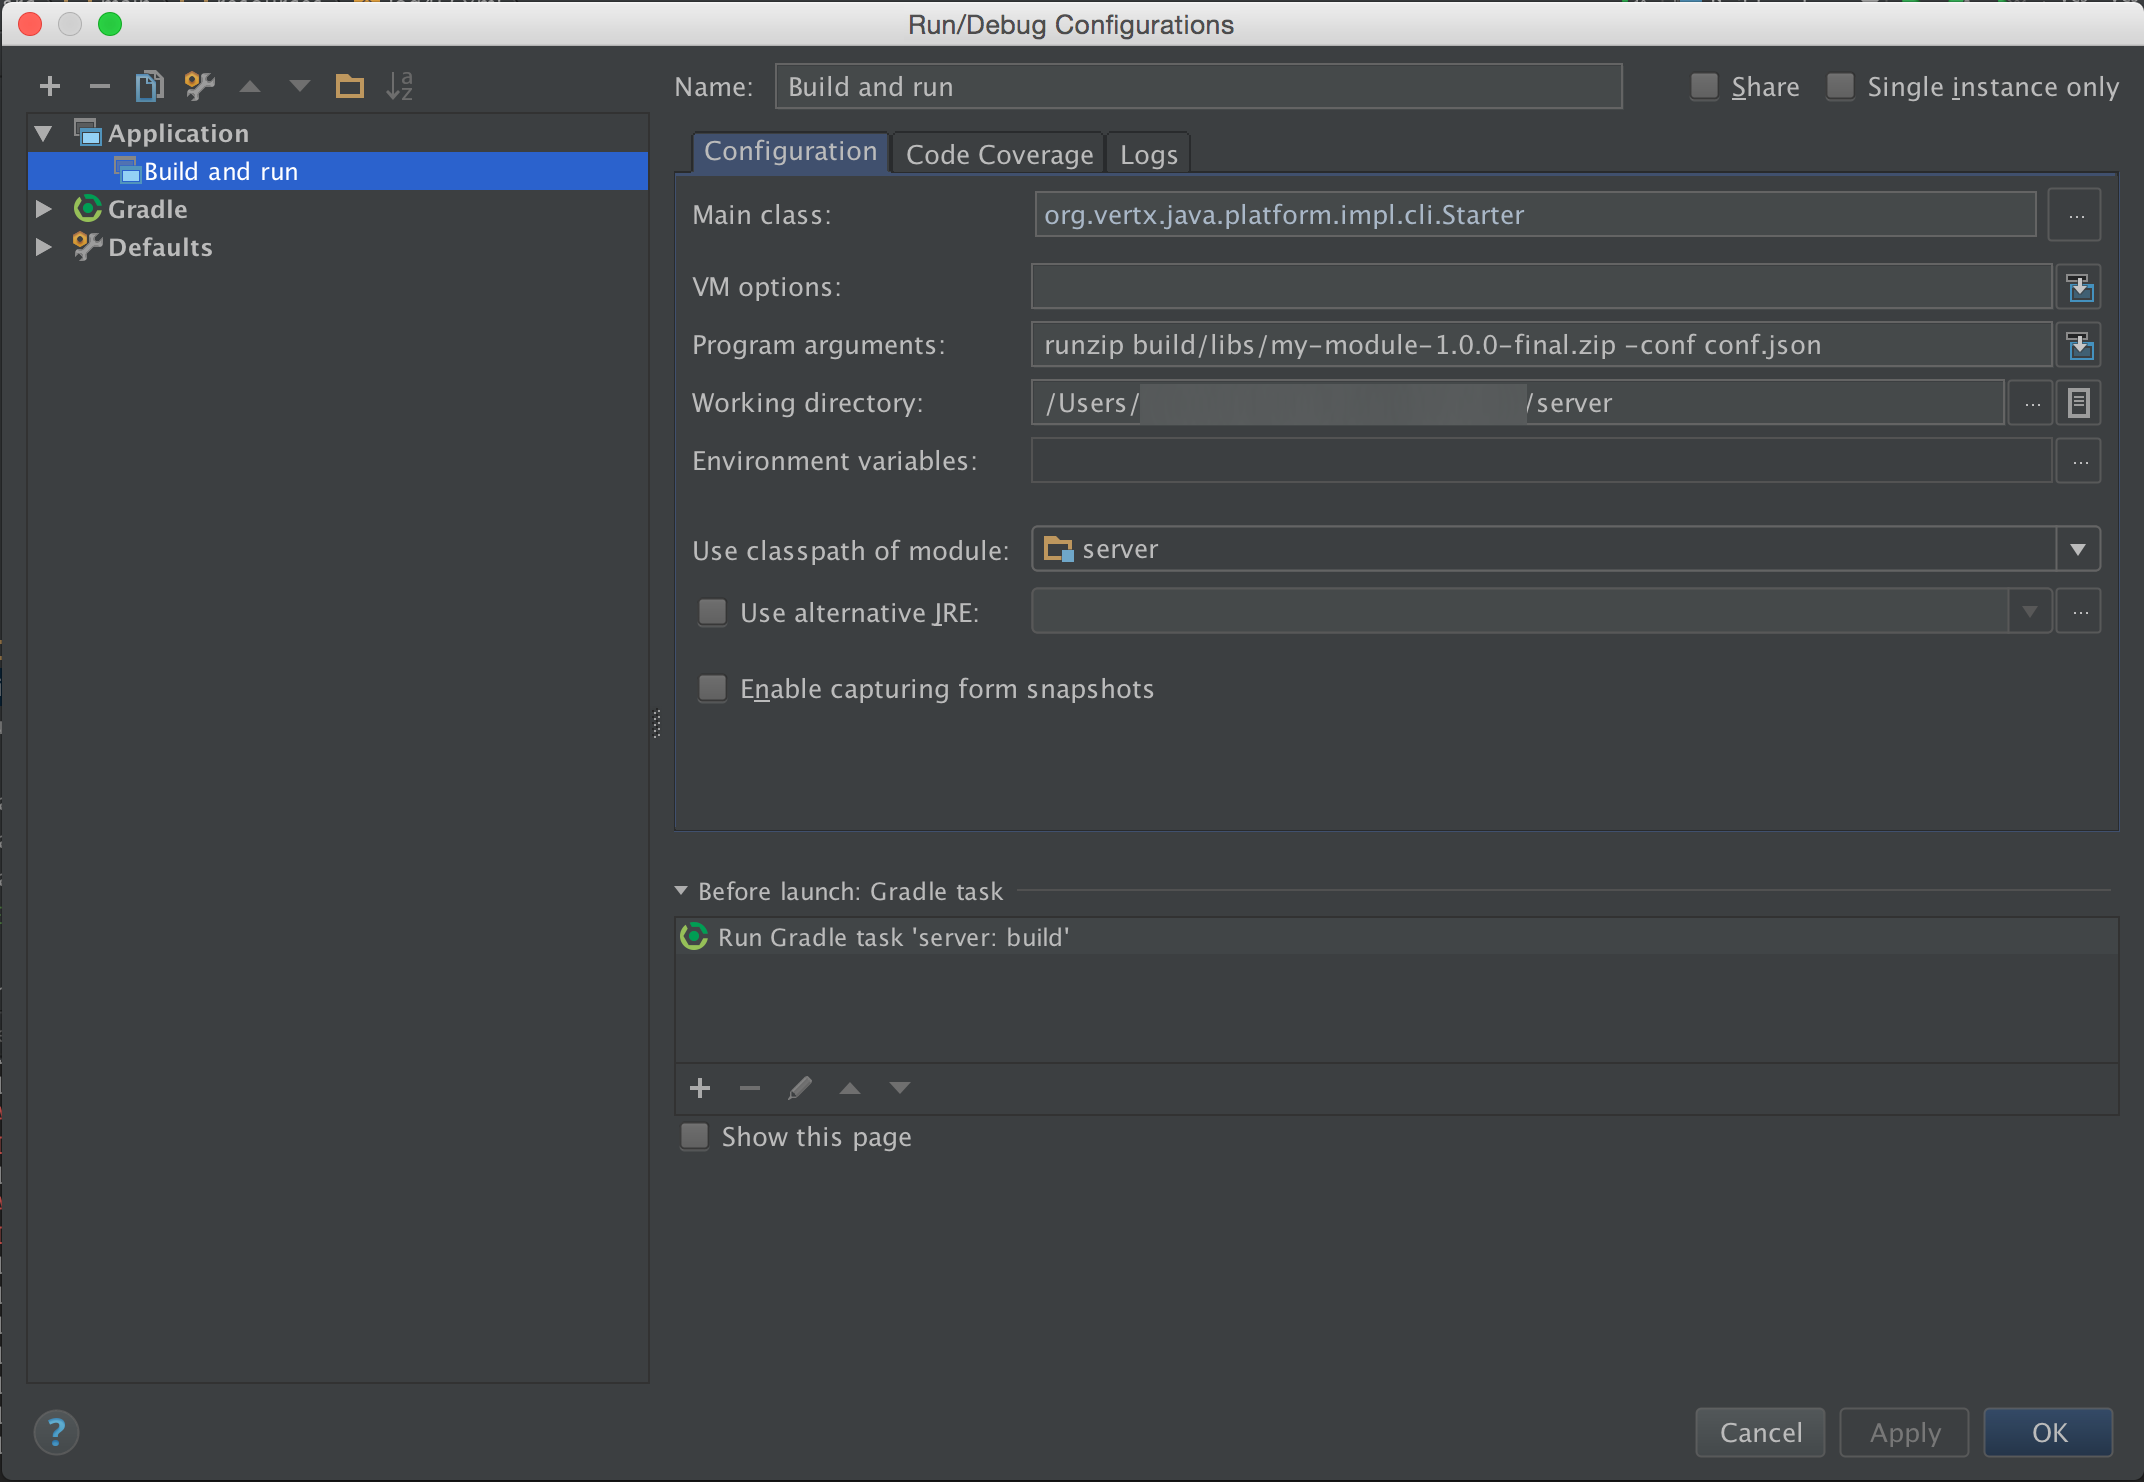
then fill up the Program arguments field of dialog with runzip build/libs/my-module-1.0.0-final.zip -conf conf.json. I have also removed the default make task from Before launch task list and replaced it with the Gradle provided build task.
We choose runzip mod, as this is the way we run the deployed package on our servers, and we didn't want to run into a surprise in that step. Adjust it to your own method if necessary.
Be careful that the final zip module name is built up from some properties set in the Gradle properties file in the root of project, so adjust it properly if you have changed them.
In most cases you shall not need to change anything else. The whole dialog looks like this:

Save anything and exit the dialogs. Now pressing run when this config is selected will build, run tests and relaunch the system when build is successful. Enjoy it! ;)